
Top Tips for Using Visuals in Trainings
[ad_1]
A version of this article was originally published at the Association for Talent Development.

Whether they realize it or not, instructional designers are often expected to be communication designers, information designers and graphic designers. When it comes time to create training materials, learning and development professionals may find it tricky to suddenly switch hats.
Based on my experience as a professional designer and the most common questions I field from L&D pros, I’ve formed some top tips for creating visuals for training content. You don’t have to be a professional designer like me to create visuals that help your learners, but you do have to know what makes a training visual most effective.
Once you’ve noted down all the tips for creating effective visual training content, start designing your L&D material with visuals using Venngage. No design experience required.
Click to jump ahead:
- Visualize what’s most important for the learner to remember
- Use visuals to help explain complex concepts
- Fully integrate textual and visual elements
- When it comes to visual communication, less is usually more
Tip #1: Visualize what’s most important for the learner to remember
Visuals aren’t merely nice-to-haves. They shouldn’t be in the presentation or on the handout just because they look pretty and take up space. If this is how you currently think of visuals, you are missing out on opportunities to support learners.
Studies have shown that over time people will remember the visuals they saw more than they will remember any text-heavy documents or slides. It follows that visuals should be used to emphasize those few ideas that you want to make sure the learner takes with them. You can use any kind of visuals for this purpose: a photo, a bar graph, a diagram or a video.
When you are preparing to produce training materials, ask yourself what the key learning points are then focus your efforts on gathering or creating visuals that center on those points.
Here’s an example of a mind map template you can customize to summarize the key learning points for your L&D content:

Tip #2: Use visuals to help explain complex concepts
If any of the content you are delivering in training is particularly heavy or difficult to understand, this is another great opportunity to include a visual.
If you work in or with organizations in the healthcare, finance or technology industries, for example, you may already be using visuals, so it’s about making sure they are more helpful than confusing.
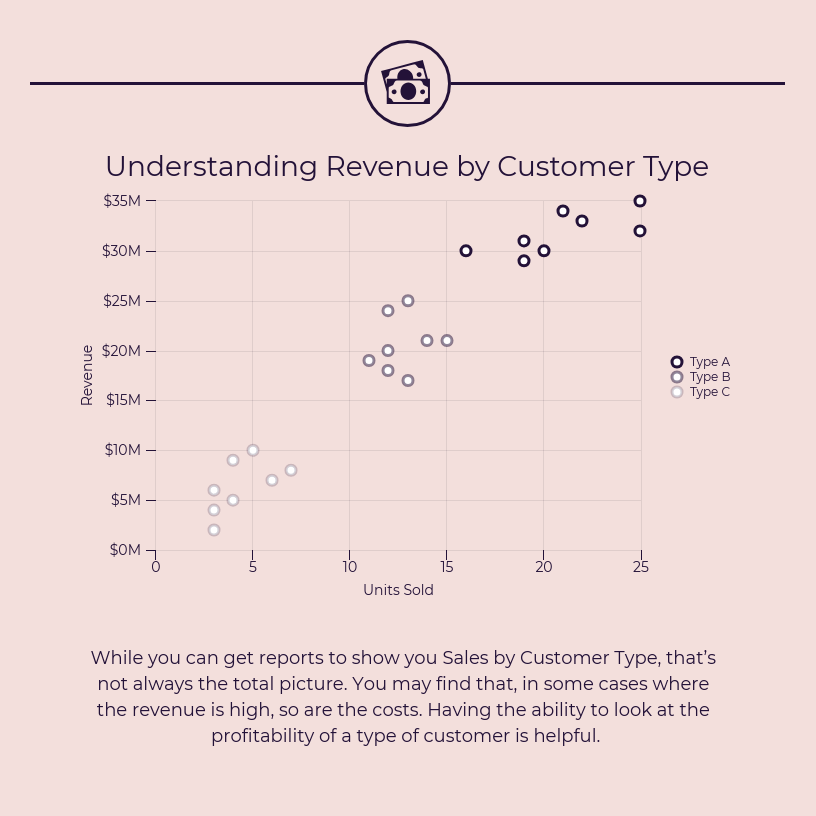
Visuals like mind maps, diagrams, charts and roadmaps can summarize complicated concepts and also present them in an engaging, easy-to-understand way. If your audience values data and science, visuals like line graphs, pie charts, and maps can be compelling.
Try customizing this scatterplot chart template:
Tip #3: Fully integrate textual and visual elements
It’s common to focus your effort on ensuring text is accurate and edited and to add visuals last. This makes sense if you’re used to working with documents, but it’s different when it comes to slide decks, microlearning modules, or job aids as these are inherently visual forms of communication.
Ultimately, the practice of prioritizing text first will backfire—and not only because you might be overlooking or skipping the two tips already mentioned.
The best informational visuals balance text with visual elements like photos, icons, and diagrams. This means these elements need to be thought of as integrated and symbiotic, not merely complementary or side-by-side. If they are the latter, it’s likely that a learner will have to divide their attention between the two, and that sort of effort will zap precious cognitive energy that instead should be spent on digesting and remembering.
Learners will spend time reading text included in visuals, so it’s ideal for this text to be plain and to the point.
Notice that there isn’t lots of text in this circle map, and the text that’s already there is really straightforward:
Tip #4: When it comes to visual communication, less is usually more
Text isn’t the only thing to keep to a minimum.
It’s easy to overwhelm learners with an abundance of color. Color is important because it grabs attention, but it should focus attention as well. If you can, stick with a simple palette of only a few colors, and use color as a way to draw attention to themes or important takeaways.
This diversity infographic, for example, uses different shades of purple and violet as the main colors, but it also introduces some new colors in the Venn diagram in the bottom half of the infographic to make the information stand out:

In general, it’s usually easier to add only key ideas as you’re drafting materials than it is to remove unnecessary details when you edit them later.
Visuals that carefully consider what’s most essential will help the learner, and being intentional when you consider visuals will also make it easier for you.
If you can limit your presentation to 10 slides (with fewer than 20 words per slide), or keep your microlearning slides to four key takeaways, you will be able to pinpoint what’s most important and focus on making sure it sticks.
You may discover that one thoughtful visual can take the place of multiple slides and be more effective at helping learners connect and understand ideas. The Venn diagram above, for example, conveys enough information that otherwise needs multiple slides to explain without the visual used:

In summary
Note down these four simple tips and take your training materials to a new level with visuals and data visualizations.
You can start to visualize your L&D content with the templates above, or explore some more with our templates library.
Simply sign up for a free account and customize your job aids, SOPs, training modules or webinars with Venngage. No design experience required.
[ad_2]
Source link


![6 Steps to Create a Strategic HR Plan [With Templates]](https://venngage-wordpress.s3.amazonaws.com/uploads/2022/08/3e611956-2d22-469e-bbea-a3d041d7d385-1-1-1.png)


